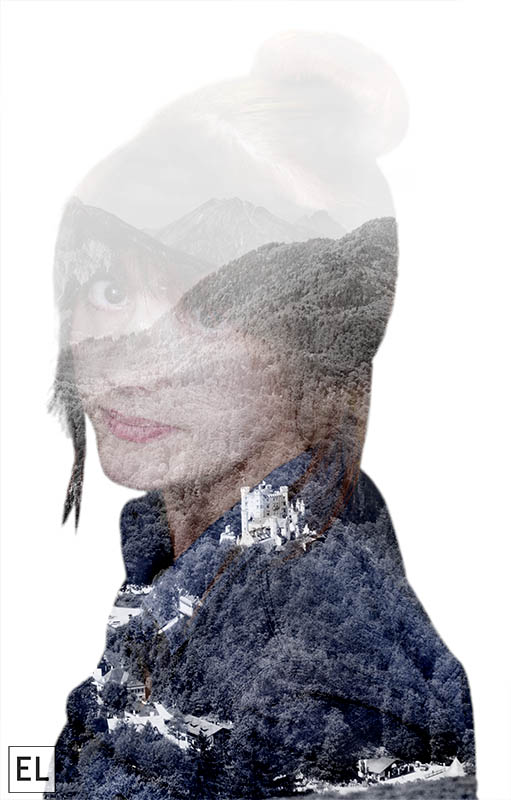
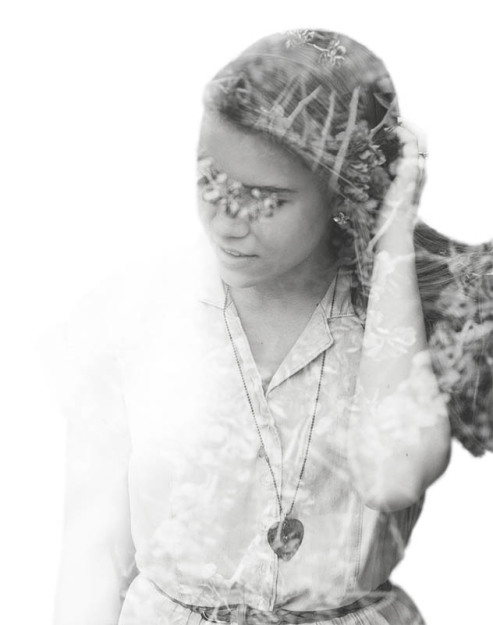
A few months ago I found a photographer that had a really fabulous eye and design for double exposure photography – Andre De Freitas. I’ve been looking around since then and noticing more and more double exposures that are done in Photoshop and I’ve wanted to take a try at making them myself, so I was excited for this assignment so I could try a double exposure.
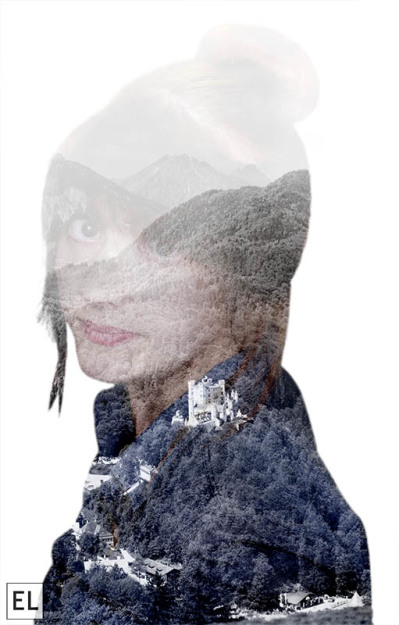
To create a double exposure, I used two images masked together with a few different techniques. I wanted to create a type of cutout, so first I made a selection of my first image (a self portrait) and refined the edges and made it as crisp and clean as possible. Then, with that selection, I laid the second image on top and made a mask of that image with the selection. That makes the image simply a silhouette, so to add my face and details back in, I copied the selection and added it to a new layer on top and changed the layering mode to screen. Then with layer masks, I was able to change up what I wanted different areas to look like and add or subtract to them. I also added a black and white layer at a very low opacity to wash out the color a little bit to emphasize the image. The finished product made me very happy – and it definitely made me want to keep trying more double exposure photos!


Elsa! These images are amazing. I also really like your new logo! I love all the self portraits!
Have you seen Tylers? http://www.tylerclaymedia.com
I love how you did this Elsa! Really beautiful. And I think unique as well. I love the alignment of the landscape image with your lovely face. Great job lady!
Check out Michael’s here: http://www.seanmichaelklapp.com/double-exposures/